A 2-hour hands-on workshop
Spatial Storytelling
Designing your first WebXR scene
0:00 — 0:10
By the end of today
You'll have a 3D world.
Live. On a link you can share.
Viewable in any browser. In VR too, if there's a headset around.
0:00 — 0:10
Here's one
Open the example scene →
Then: view source, live, on the projector.
0:00 — 0:10
That was about thirty lines
<a-scene>
  <a-sky color="#ECECEC"></a-sky>
  <a-light type="ambient" intensity="0.4"></a-light>
  <a-plane rotation="-90 0 0" width="30" height="30"></a-plane>
  <a-box position="-1 0.5 -3" color="#4CC3D9"></a-box>
</a-scene>
Full file:
starter-template/index.html
How we'll work
DirectionDecide the mood before writing anything.
DescriptionWrite tags that describe the scene.
DiscernmentChoose assets that serve the mood.
DelegationLet A-Frame handle the hard parts.
Direction
Intent comes first
What does this space feel like?
Not "what objects will I place." That comes after.
Description
Describing the scene is the code
This is not a metaphor. Each tag is a thing in the room.
<a-box>     is a box
<a-sphere>  is a sphere
<a-sky>     is the sky around everything
<a-light>   is a light source
Discernment
Choosing, not collecting
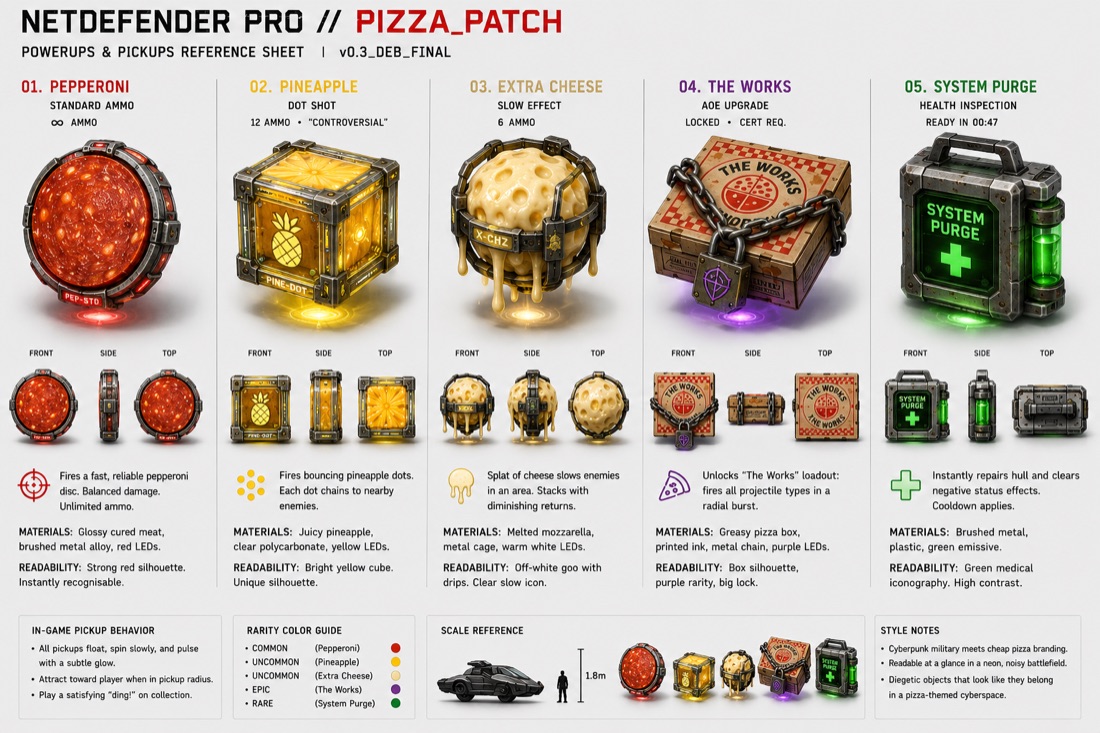
The kit has a point of view — pick what serves your scene's mood.
Delegation
What you never have to write
- The camera and head tracking
- Mouse-look and keyboard movement
- Lighting maths and rendering
- The entire WebXR headset handshake
Naming a component is enough.
0:10 — 0:25
Let's open it together
Import on Glitch →
Then Preview, then /starter-template/
0:10 — 0:25
Four attributes do most of the work
position="X Y Z"    where it is        (metres)
rotation="X Y Z"    how it's turned    (degrees)
scale="X Y Z"       how big            (1 = normal)
color="#RRGGBB"     what colour
In context:
the objects section →
0:10 — 0:25
Negative Z is forward
You start at 0 0 0 looking down −Z.
Anything you want to see goes at a negative Z.
Everyone trips on this once. Better now than at minute fifty.
0:10 — 0:25
Two lights, doing two jobs
<a-light type="ambient"     intensity="0.4"></a-light>
<a-light type="directional" intensity="0.8" position="-1 2 1"></a-light>
Ambient stops anything going black. Directional makes things look solid.
starter-template/index.html#L128-L129 →
0:10 — 0:25
Bringing in a model
<a-entity
  gltf-model="../asset-kit/models/lantern.glb"
  position="0 0 -4"
  scale="1 1 1"></a-entity>
Models are almost never the size you expect. Fix scale first.
0:25 — 0:35
Direction
Five minutes. No keyboards.
Pick a mood, a theme, or a one-sentence concept for your scene.
Somewhere abandoned. A place that's too quiet. A memory of a room.
Underwater. The last shop open at 3am.
0:35 — 1:35
Build time
One hour.
Your Direction drives every decision from here.
0:35 — 1:35
What a finished scene needs
- A sky or skybox
- At least one light, set deliberately
- Two or three objects placed with intention
- It loads and enters VR from your shared link
That's the floor, not the ceiling.
0:35 — 1:35
If you get stuck
- Nothing renders? Check the console, and the closing
</a-scene>
- No VR button? You're not on HTTPS or localhost
- Model won't load? Needs to be a real
.glb file, not a viewer page
- Can't find the object? It's probably behind you
1:35 — 1:50
Swap links
Everyone already has a live URL. Go and stand in two or three other people's worlds.
1:50 — 2:00
One thing you'd add with more time
Go round the room. One sentence each.
Keep going
Your Glitch project stays live and editable. Publish it permanently
with GitHub Pages whenever you want.
github.com/CMDann/aframe-workshop-starter